
Part 2 – Docker

As University is finally finished, it was time to redo my current setup to start from scratch. Currently my Raspberry Pi isn’t doing much at the moment except running a few docker containers such as Vaultwarden while my main unRaid server is running the bulk of the services I need. So it was time to offload some of the services onto the Raspberry Pi, especially ones that I need to access when the main server is offline.
The unRaid server is hosting a ‘cloudflared’ container so that it enables myself to access my services such as NextCloud through a tunnelling service, commonly known as a ‘Argo Tunnel’. This should prefebly run on the Raspberry Pi as that would be running 24/7 and always have access to my services unlike the current setup where I lose my password manager and SearchXNG when the system is down.
Also, the unRaid system is running a Home Assistant VM with HACS installed which again would be better running on a Raspberry Pi so it is always online and have my automations working.
It is time to follow part 2 of this tutorial series!
Tutorial
Installing Docker
Always good practice to update all the existing packages.
sudo apt update
sudo apt upgrade
Download and run the offical Docker setup script.
curl -sSL https://get.docker.com | shConfiguring your User for Docker
This step is to add your current user to the docker group by using the command below due to how the Linux permission system works. The ‘$USER’ is a environment variable that stores the current users name so there is no need to change it.
sudo usermod -aG docker $USERTo make the changes, will need to logout and ssh back into the Raspberry Pi for it to take effect.
logoutOnce you are back into the Pi, can verify that the Docker group has been created successfully by using the following command.
groupsTesting Docker
To confirm that Docker is working correctly, run the command below to deploy a ‘hello-world’ container.
docker run hello-worldIf successful, the following message will appear in your terminal. This confirms that Docker is working correctly.
Hello from Docker!
This message shows that your installation appears to be working correctly.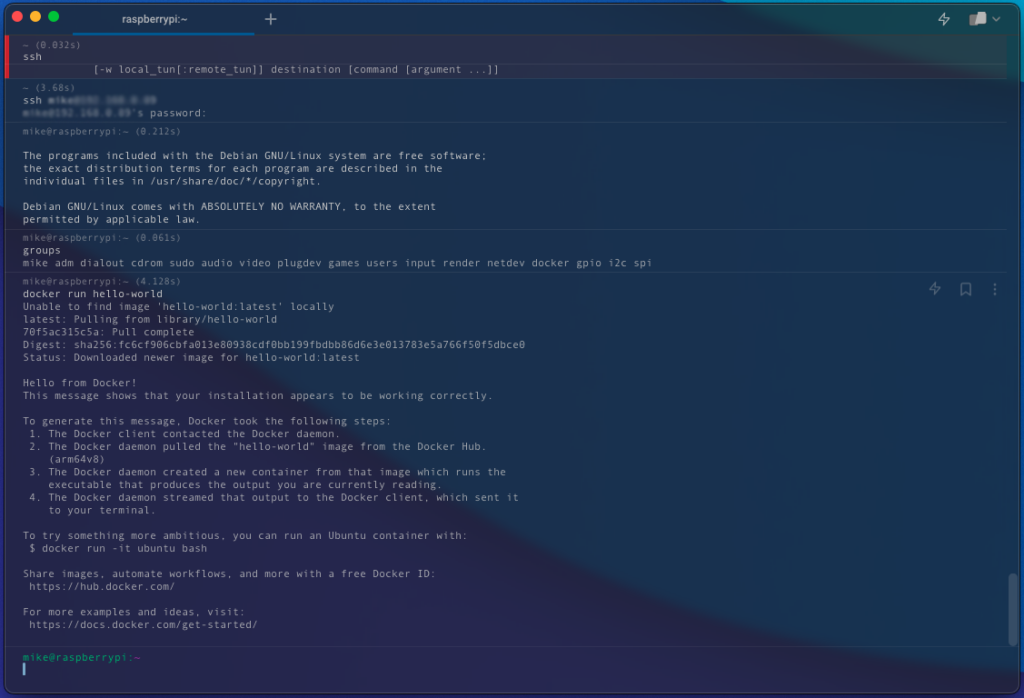
Now onto the next part of the tutorial series where Portainer will be installed which will make the process easier of deploying different containers onto the Raspberry Pi.