
Part 1 – Cloudflare

As University is finally finished, it was time to redo my current setup to start from scratch. Currently my Raspberry Pi isn’t doing much at the moment except running a few docker containers such as Vaultwarden while my main unRaid server is running the bulk of the services I need. So it was time to offload some of the services onto the Raspberry Pi, especially ones that I need to access when the main server is offline.
The unRaid server is hosting a ‘cloudflared’ container so that it enables myself to access my services such as NextCloud through a tunnelling service, commonly known as a ‘Argo Tunnel’. This should prefebly run on the Raspberry Pi as that would be running 24/7 and always have access to my services unlike the current setup where I lose my password manager and SearchXNG when the system is down.
Also, the unRaid system is running a Home Assistant VM with HACS installed which again would be better running on a Raspberry Pi so it is always online and have my automations working.
Tutorial
What do I need?
- Raspberry Pi 4 running Raspberry Pi OS Lite (64-Bit)
- Raspberry Pi Imager
- Domain name
- Cloudflare account with the domain set up
This is pretty mandatory and obvious!
What is the plan?
- To have the Raspberry Pi running a minimal and lightweight OS, there isn’t a need to have a desktop environment when everything can be done through SSH
- Have the Pi as the recipient of a Argo Tunnel to have services accessible
- Install Docker & Portainer to deply docker containers
- Have Home Assistant with HACS installed so automations for smart devices can perform 24/7
- Have services on the unRaid system accessible. If the main server is down at least the Proxy Manager is still running
Download
Download the Raspberry Pi OS Lite version from the Raspberry Pi offical software page as well as the Raspberry Pi Imager software to flash the downloaded image to a SD card to be used in the Raspberry Pi.

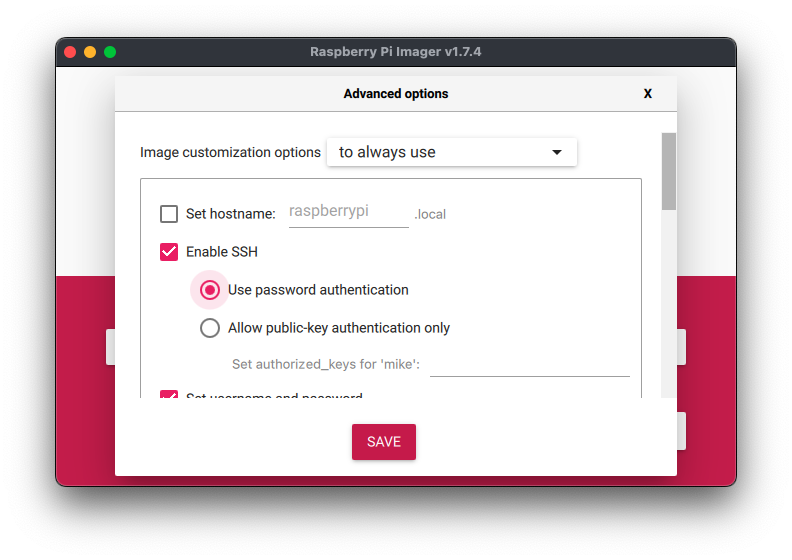
Make sure to click on the ‘Gear’ button on the bottom left of the Imager to enable SSH so you can remotely access the Pi. If you have a monitor and keyboard connected to the Pi you can skip this step.
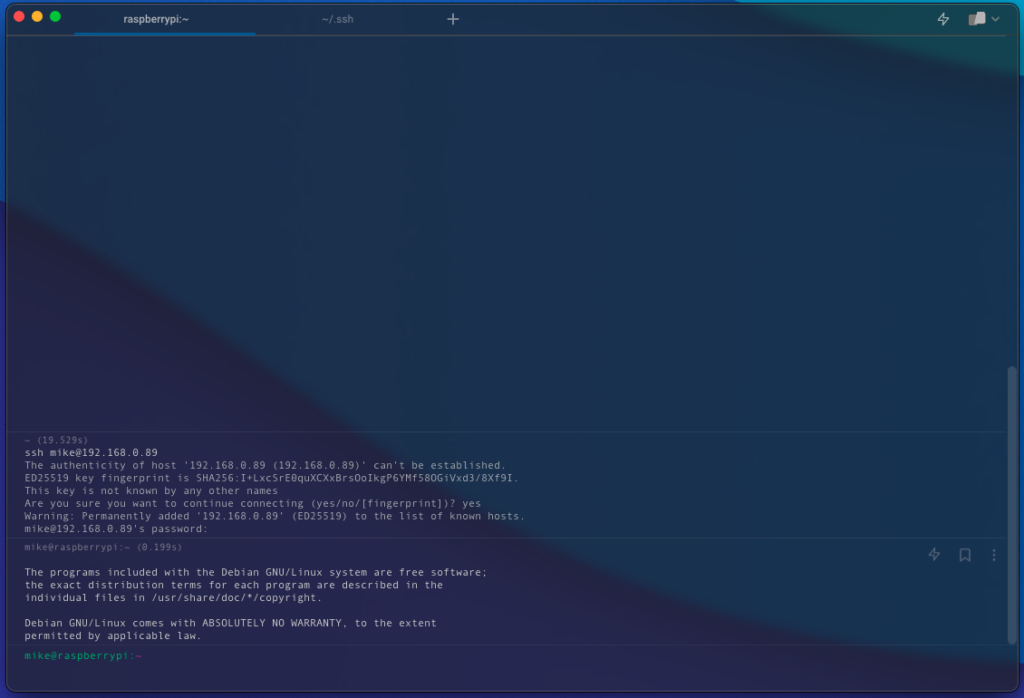
Then flash the image to the SD card, wait for it to complete and insert the card into your Raspberry Pi and start it up. To remotely access the Raspberry Pi need to input the following code into your terminal. Replace ‘USER’ with the username you set and ‘IPADDRESS’ with the IP address that your Raspberry Pi has been assigned. You can easily find out by accessing your router.
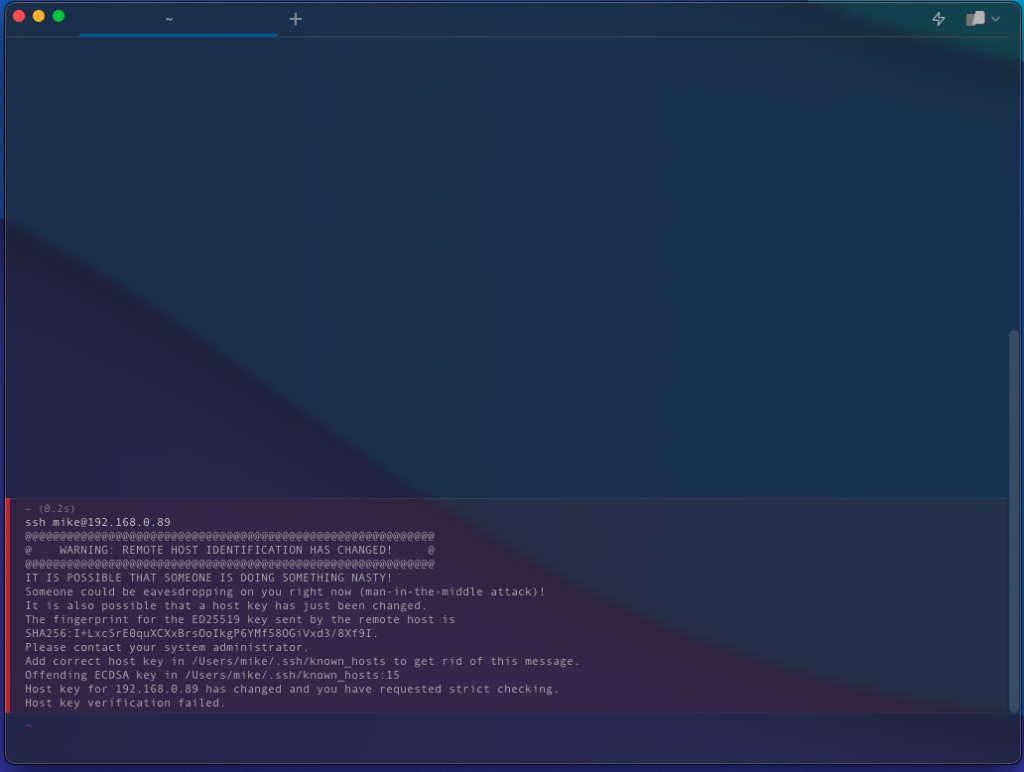
ssh USER@IPADDRESSIf you get a ‘Identification has changed!’ error, just connect again and it should allow you to update the key to remotely access the Pi.
Once connect, it is always good practice to update the package list as well as upgrade any that is out of date.
sudo apt update
sudo apt upgrade
Once completed, it is important to confirm that the ‘curl’ and ‘lib-release’ packages are available to perform the next task.
sudo apt install curl lsb-releaseAdding the Cloudflare Repository
For the next task, a GPG key is needed to verify the packages are valid when being installed from the Cloudflared repository and finally stored on the Raspberry Pi itself.
curl -L https://pkg.cloudflare.com/cloudflare-main.gpg | sudo tee /usr/share/keyrings/cloudflare-archive-keyring.gpg >/dev/nullThe next step after saving the GPG key, is to add the Cloudflared repository to the Pi.
echo "deb [signed-by=/usr/share/keyrings/cloudflare-archive-keyring.gpg] https://pkg.cloudflare.com/cloudflared $(lsb_release -cs) main" | sudo tee /etc/apt/sources.list.d/cloudflared.listPerform another update to make sure the package list cache is up to date after the changes being made.
sudo apt updateInstalling Cloudflared
Now it is time to install the Cloudflared package to the Pi.
sudo apt install cloudflaredAuthenticating with Cloudflare
Now it is time to set up a Cloudflare tunnel, which is much easier than a year ago when I set one up on the unRaid server. So to begin by authenticating with the Cloudflare service by using the command below. Ensure that Cloudflared is open on the Pi while the process is completed.
cloudflared tunnel login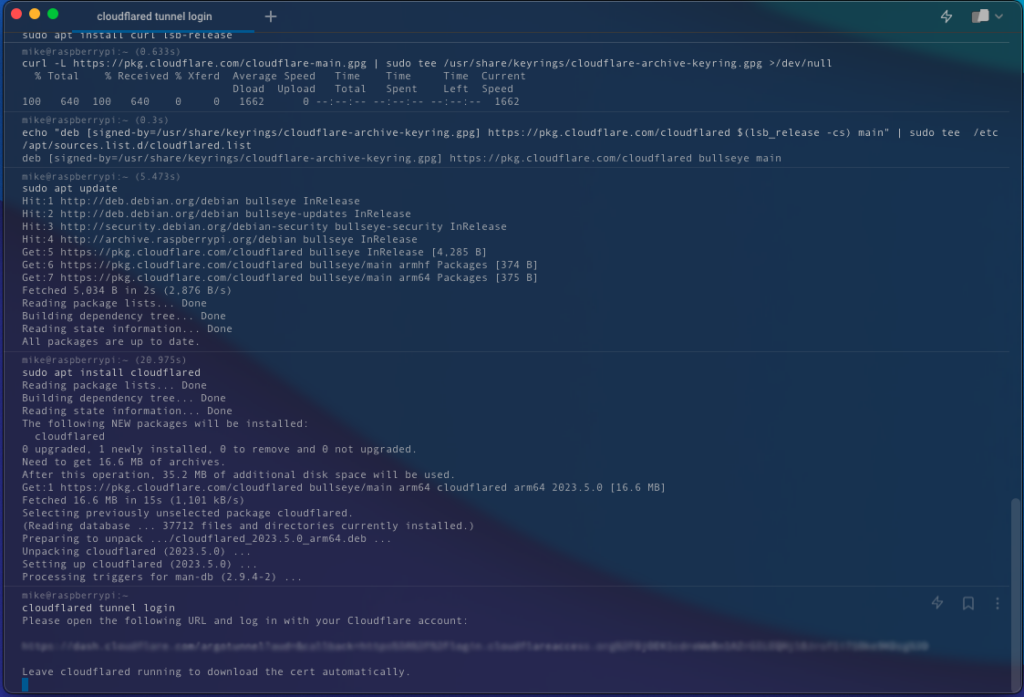
After running the command and seeing the image above, the following message will appear. You will need to go the the URL to login to your Cloudflare account.
Please open the following URL and log in with your Cloudflare account:

https://dash.cloudflare.com/argotunnel?callback=https%3A%2F%2Flogin.cloudflareaccess.org%2FXXXXXXXXXX

Leave cloudflared running to download the cert automatically.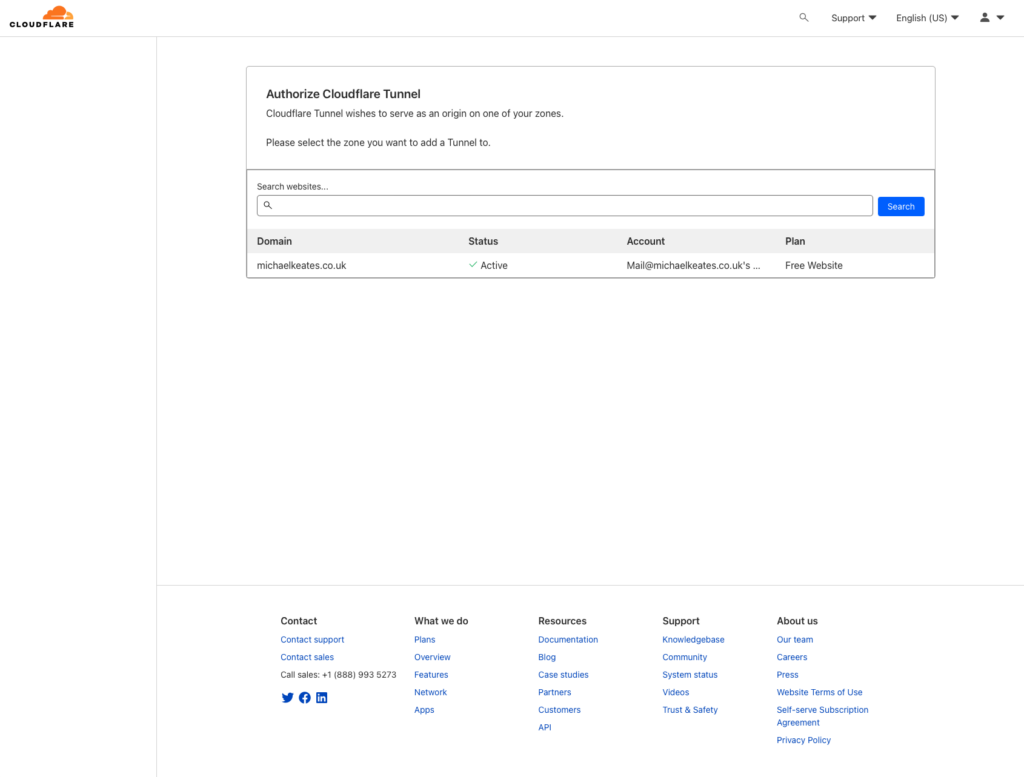
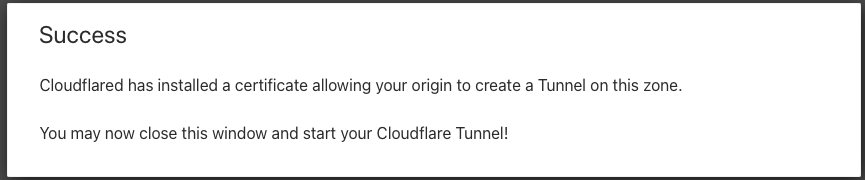
If you see the following message below, the Cloudflare service has successfully been authenticated. Obviously ‘USER’ is the username you created when the image was flashed to the SD card.
You have successfully logged in.
If you wish to copy your credentials to a server, they have been saved to:
/home/USER/.cloudflared/cert.pem
Before creating a tunnel to have the services routed from the Raspberry Pi, Part 2 will go through the process of installing Docker onto the Pi as fundenmentaly the tunnel will need to reach a service which will be done in the future.